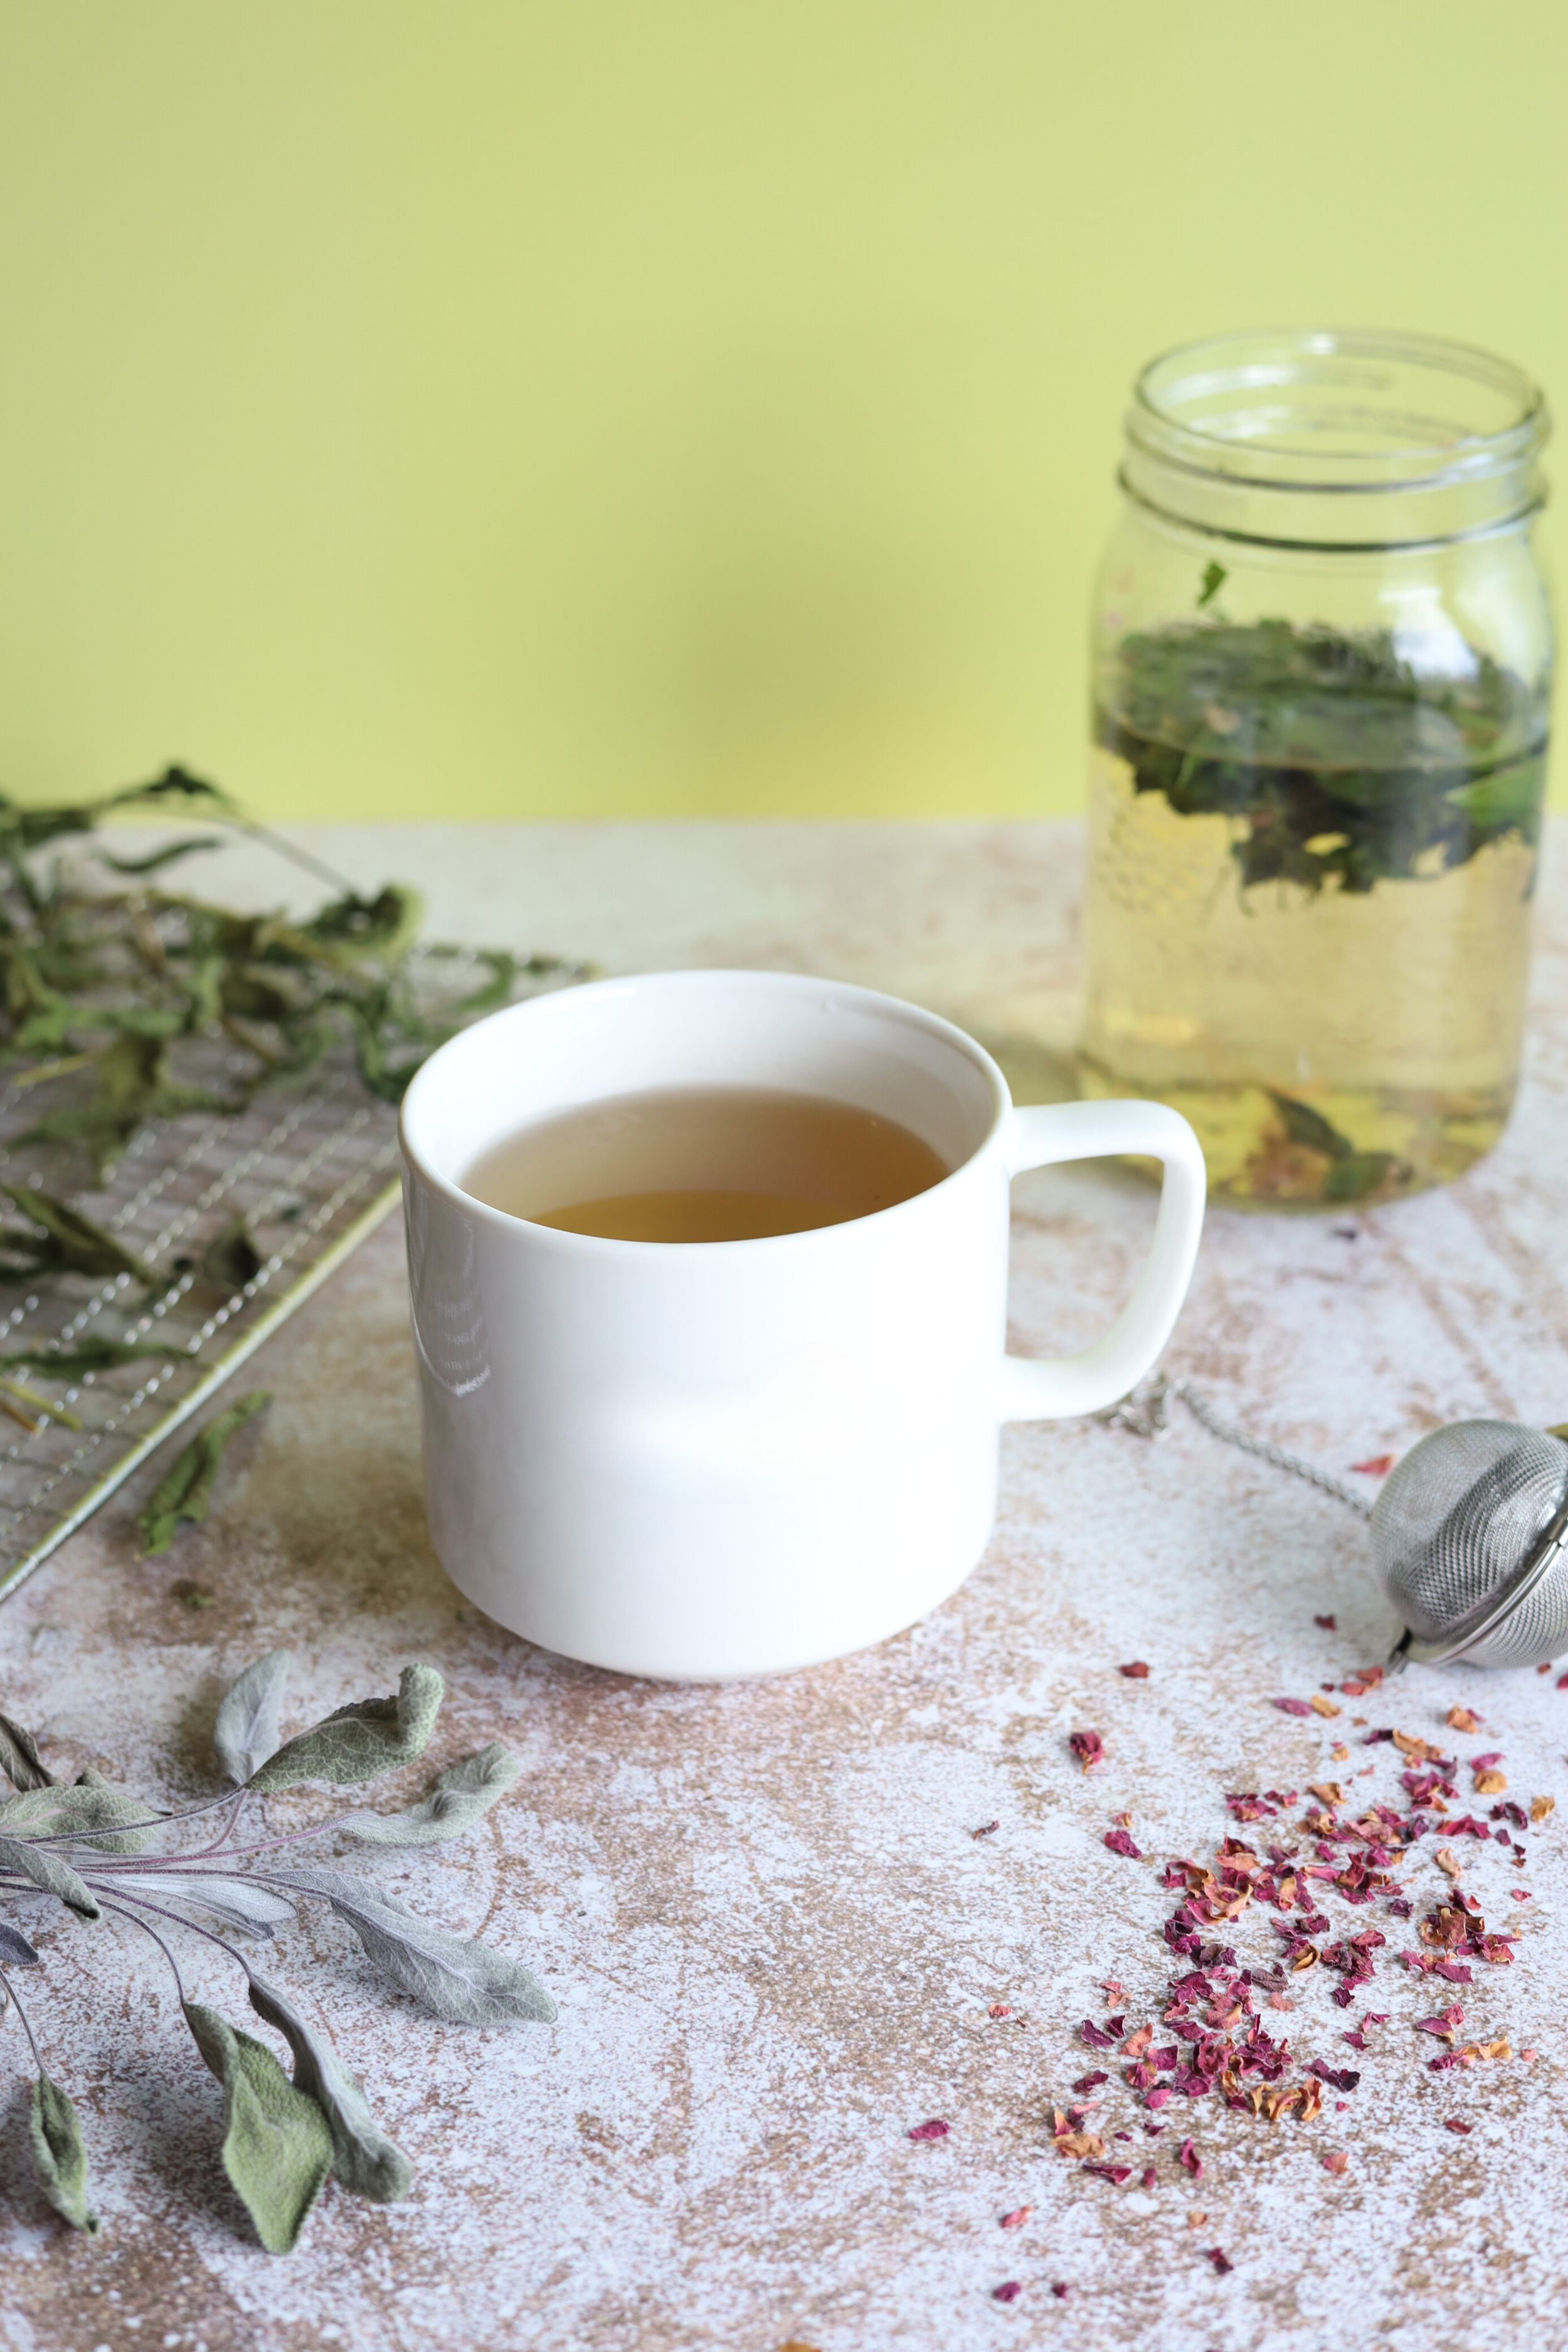
Herbal Tea Recipe
Part of the Grow Eat Learn program’s summer activities involved planting experimental pollinator tea gardens on school grounds. There are so many benefits to planting flowering plants in an effort to support pollinators, like bees, hummingbirds and wasps. Some of these benefits support the land, by diversifying habitats and making space for native plants. Plants like Swamp Milkweed are crucial food sources for monarch butterflies. Other pollinators, like Bee Balm and Mint, feed animals but can also nourish us! Check out the list below of plants that were a part of the Pollinator Tea Gardens this season that you may want to plant for future pollinators and your own herbal tea.
Pollinating Plants Good for Tea:
Sweet Fern, Hyssop, Sage, Mint (can spread aggressively!), Lemon Balm, Echinacea
Servings: 1-4
Time to make: 5 min
Resting time: 10 min
Total Time: 15 min
Ingredients
1 teaspoon to 1 tablespoon of crushed dried tea leaves (See Dried Herb Bouquet Recipe below for how to dry leaves)
1 – 4 cups water (amount will vary based on cup or teapot size)
Honey or sugar (optional)
Directions
Select 1 teaspoon to 1 tablespoon of crushed dried tea leaves. You can mix and match tea leaves (e.g., mint and lemon balm or nettle). You can also mix herbs like mint or sage with loose black or green teas.
Add tea leaves to a heat-safe jar (e.g., mason jar) or a teapot.
In a kettle or saucepan, bring water to a boil. If boiling water in a saucepan, putting the lid on will make the boiling more efficient and quicker.
Once the water has boiled, carefully pour over the leaves. Add honey or sugar to sweeten the tea (optional).
Let the tea steep for at least 10 minutes. With many herbal teas, a long steep means that the most amount of nutrients pass from the leaves into the tea.
Hold a tea strainer above a cup and carefully pour tea into the cup.
Note: You can test the temperature of the tea by feeling how hot the jar or teapot is before pouring. If it’s still too hot to touch the mason jar tea, use oven mitts or a tea-towel wrap to protect your hands.
Leftover tea can be strained and chilled later with ice or put in the fridge for iced tea the following day.
Dried Herb Bouquet Recipe
This recipe can be used for tea or cooking herbs (some are both!)
Materials
String (e.g., cooking twine or embroidery floss)
Scissors
Directions
Gently pick or use scissors to harvest herbs with unblemished leaves, leaving roots in the ground.
Gently pick or use scissors to harvest herbs with unblemished leaves, leaving roots in the ground.
Spread out the stems to inspect them. Remove blemished leaves and inspect for rocks and dirt. If some stems need rinsing, put them aside to rinse and dry separately.
Next, you can cluster herbs by type or arrange them in a mixed bouquet for drying.
Once you have bunched your stems, wrap a string around the stems. It should be snug but not super tight. After wrapping, leave enough string to hang the bouquets, then cut the string.
Choose a location that is: in a warm location, out of direct sunlight, and has airflow. Tie your herb bouquet to a nail on the wall, from a pot rack or attached to a clothes hanger or stick if you have multiple bouquets.
Leave your herbs to dry for at least 2 weeks before sealing in a container to help maintain freshness. You can also use it as a decoration.
Tips: There are no hard rules on how long it takes herbs to dry if doing it in a room without a dehydrator. A fan will make the herbs dry quicker, as will a warmer, dry room. When the weather is rainy, the leaves will dry more slowly, even when inside. You can test out some leaves once they have felt dry to the touch for a few days. Put a little clump in a jar and seal it tight. Leave it for a day or two and see if any moisture droplets appear or mold has grown.


