
Fresh Egg Pasta Recipe

Servings: 4-6
Time to make: 45 min
Resting time: 15 min
Cook time: 5 min
Total Time: 1 h 05 min
Ingredients
2 cups All-Purpose Flour, plus extra for sprinkling
3 Large eggs (best at room temperature)
1/2 tsp Salt
1/2 tbsp Extra-virgin olive oil)
Directions
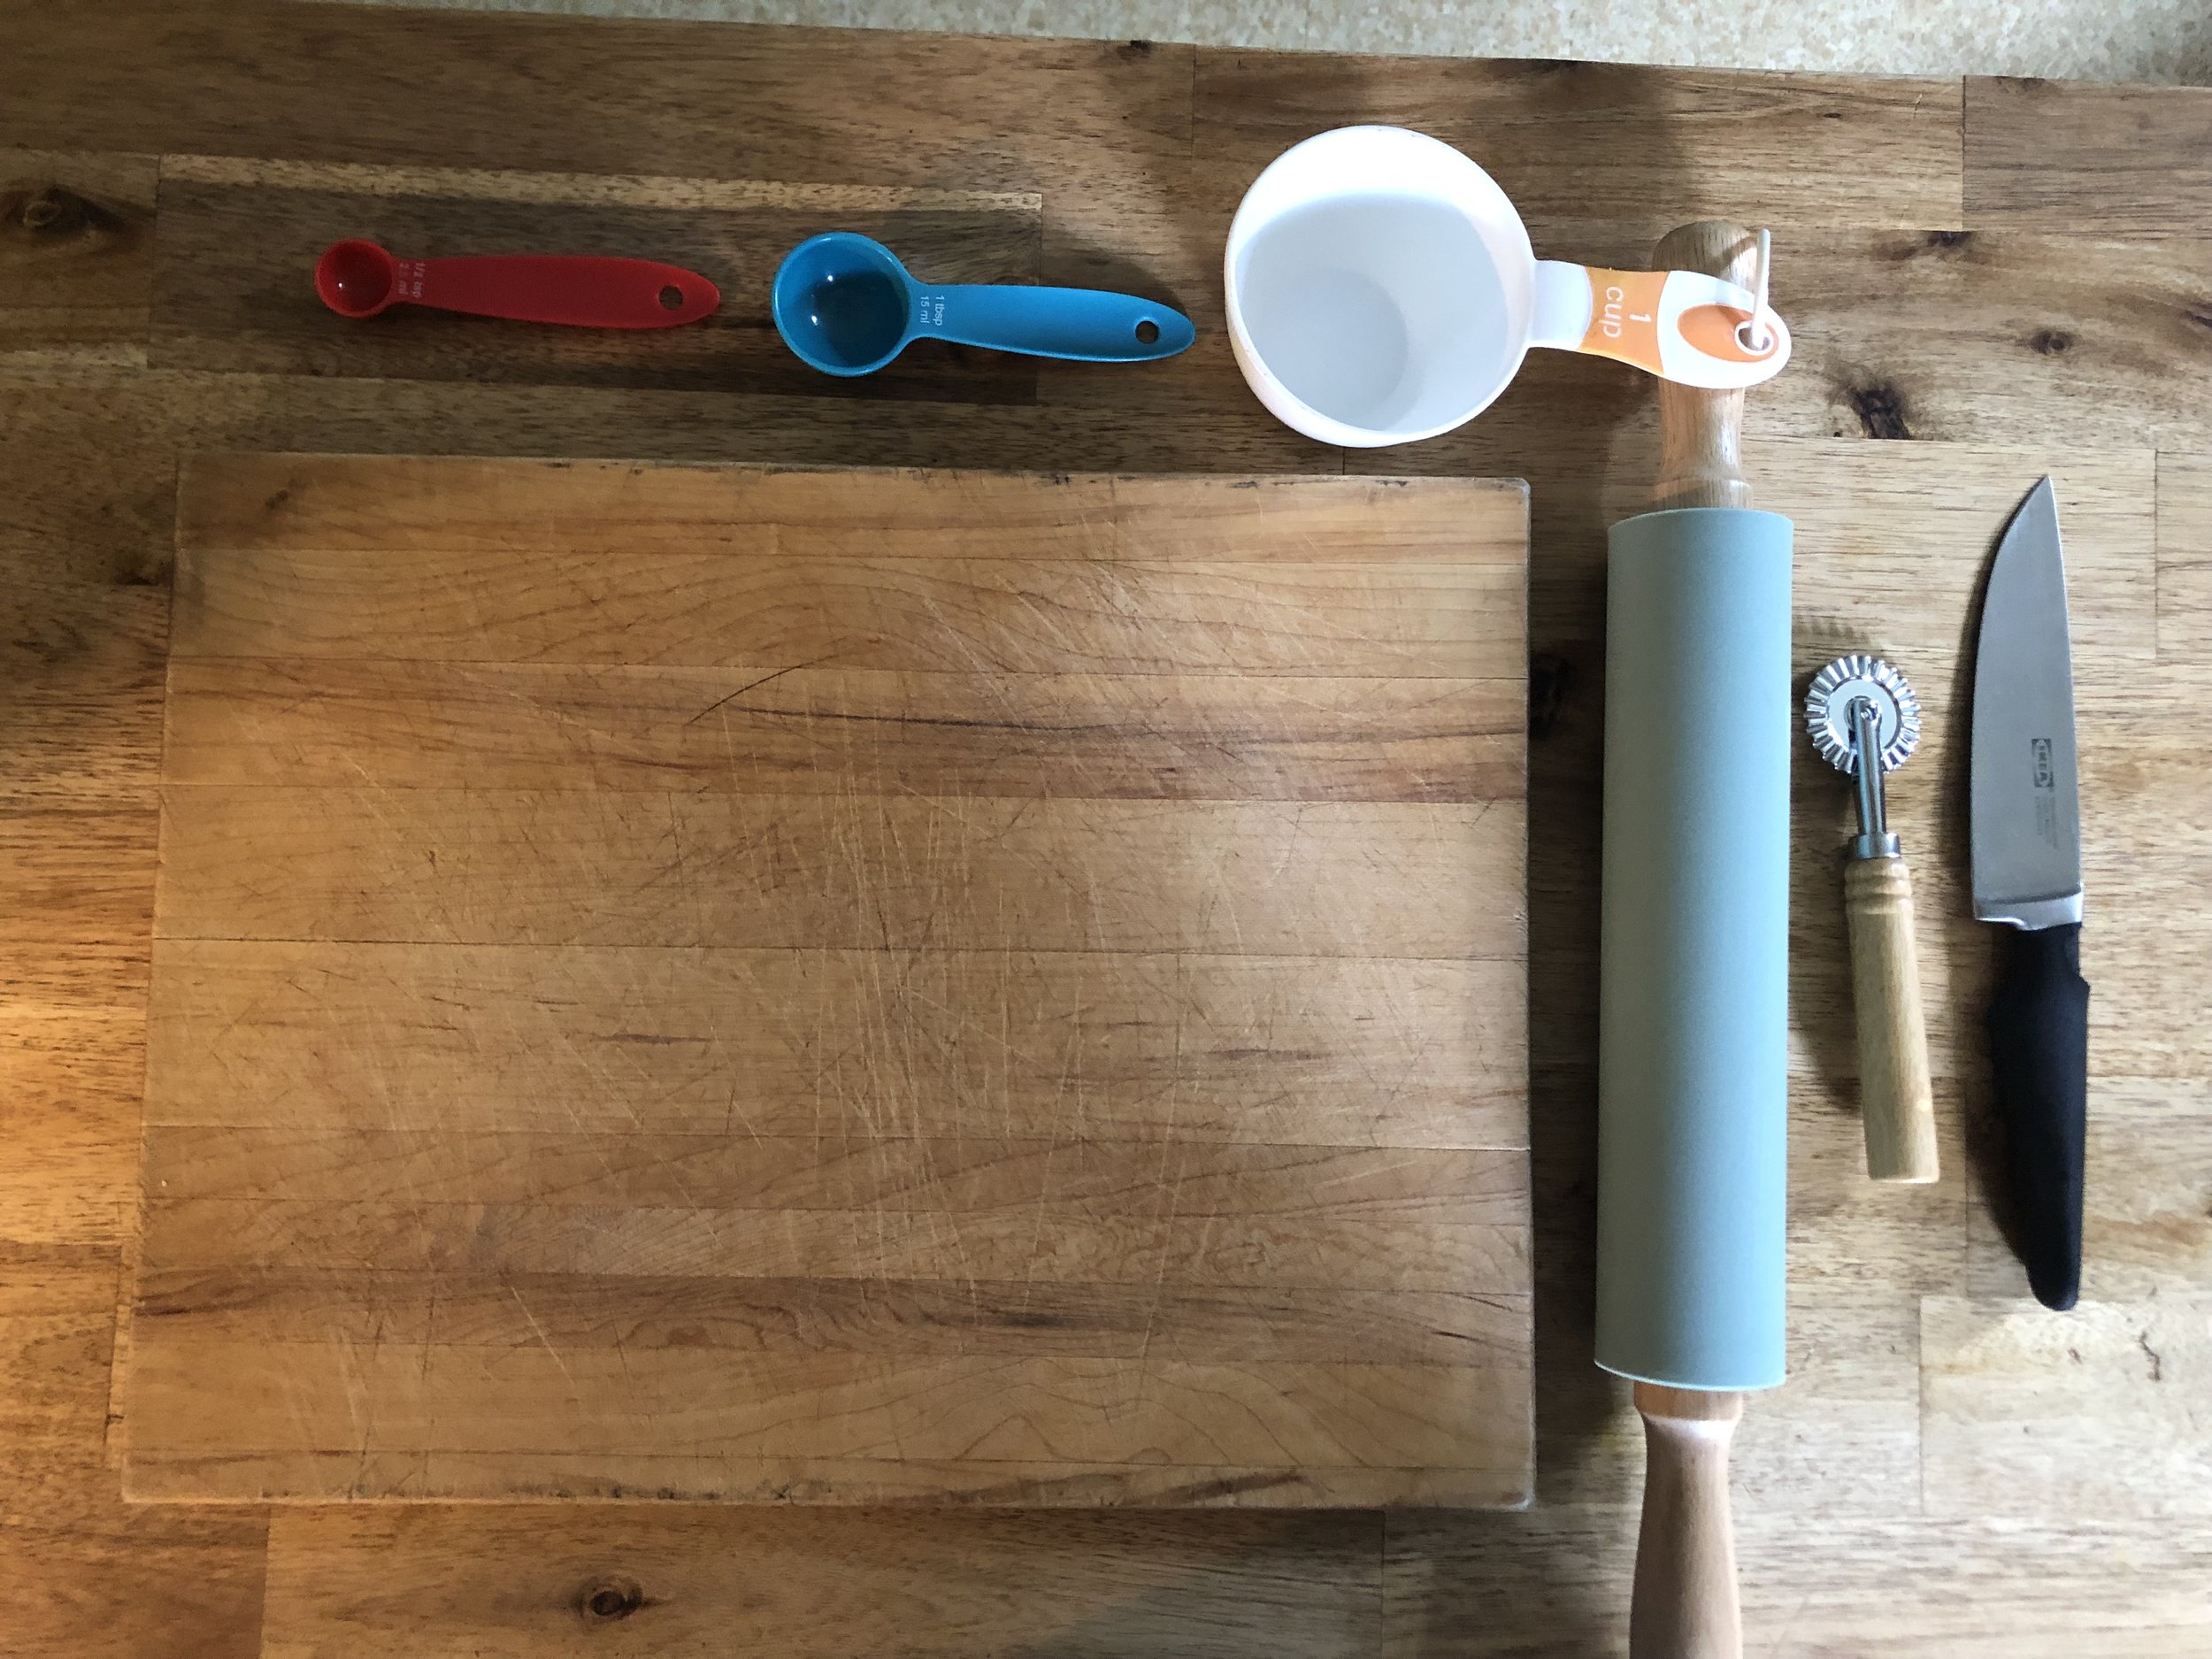
Step 1: Prep your workstation.
You are going to need a clean counter top surface or bowl, rolling pin, measuring cup, fork, and a sharp knife or pasta cutter.
Tip for success: if working with younger participants or beginners, you may want to use a mixing bowl rather than a flat counter space to limit mess and clean up.
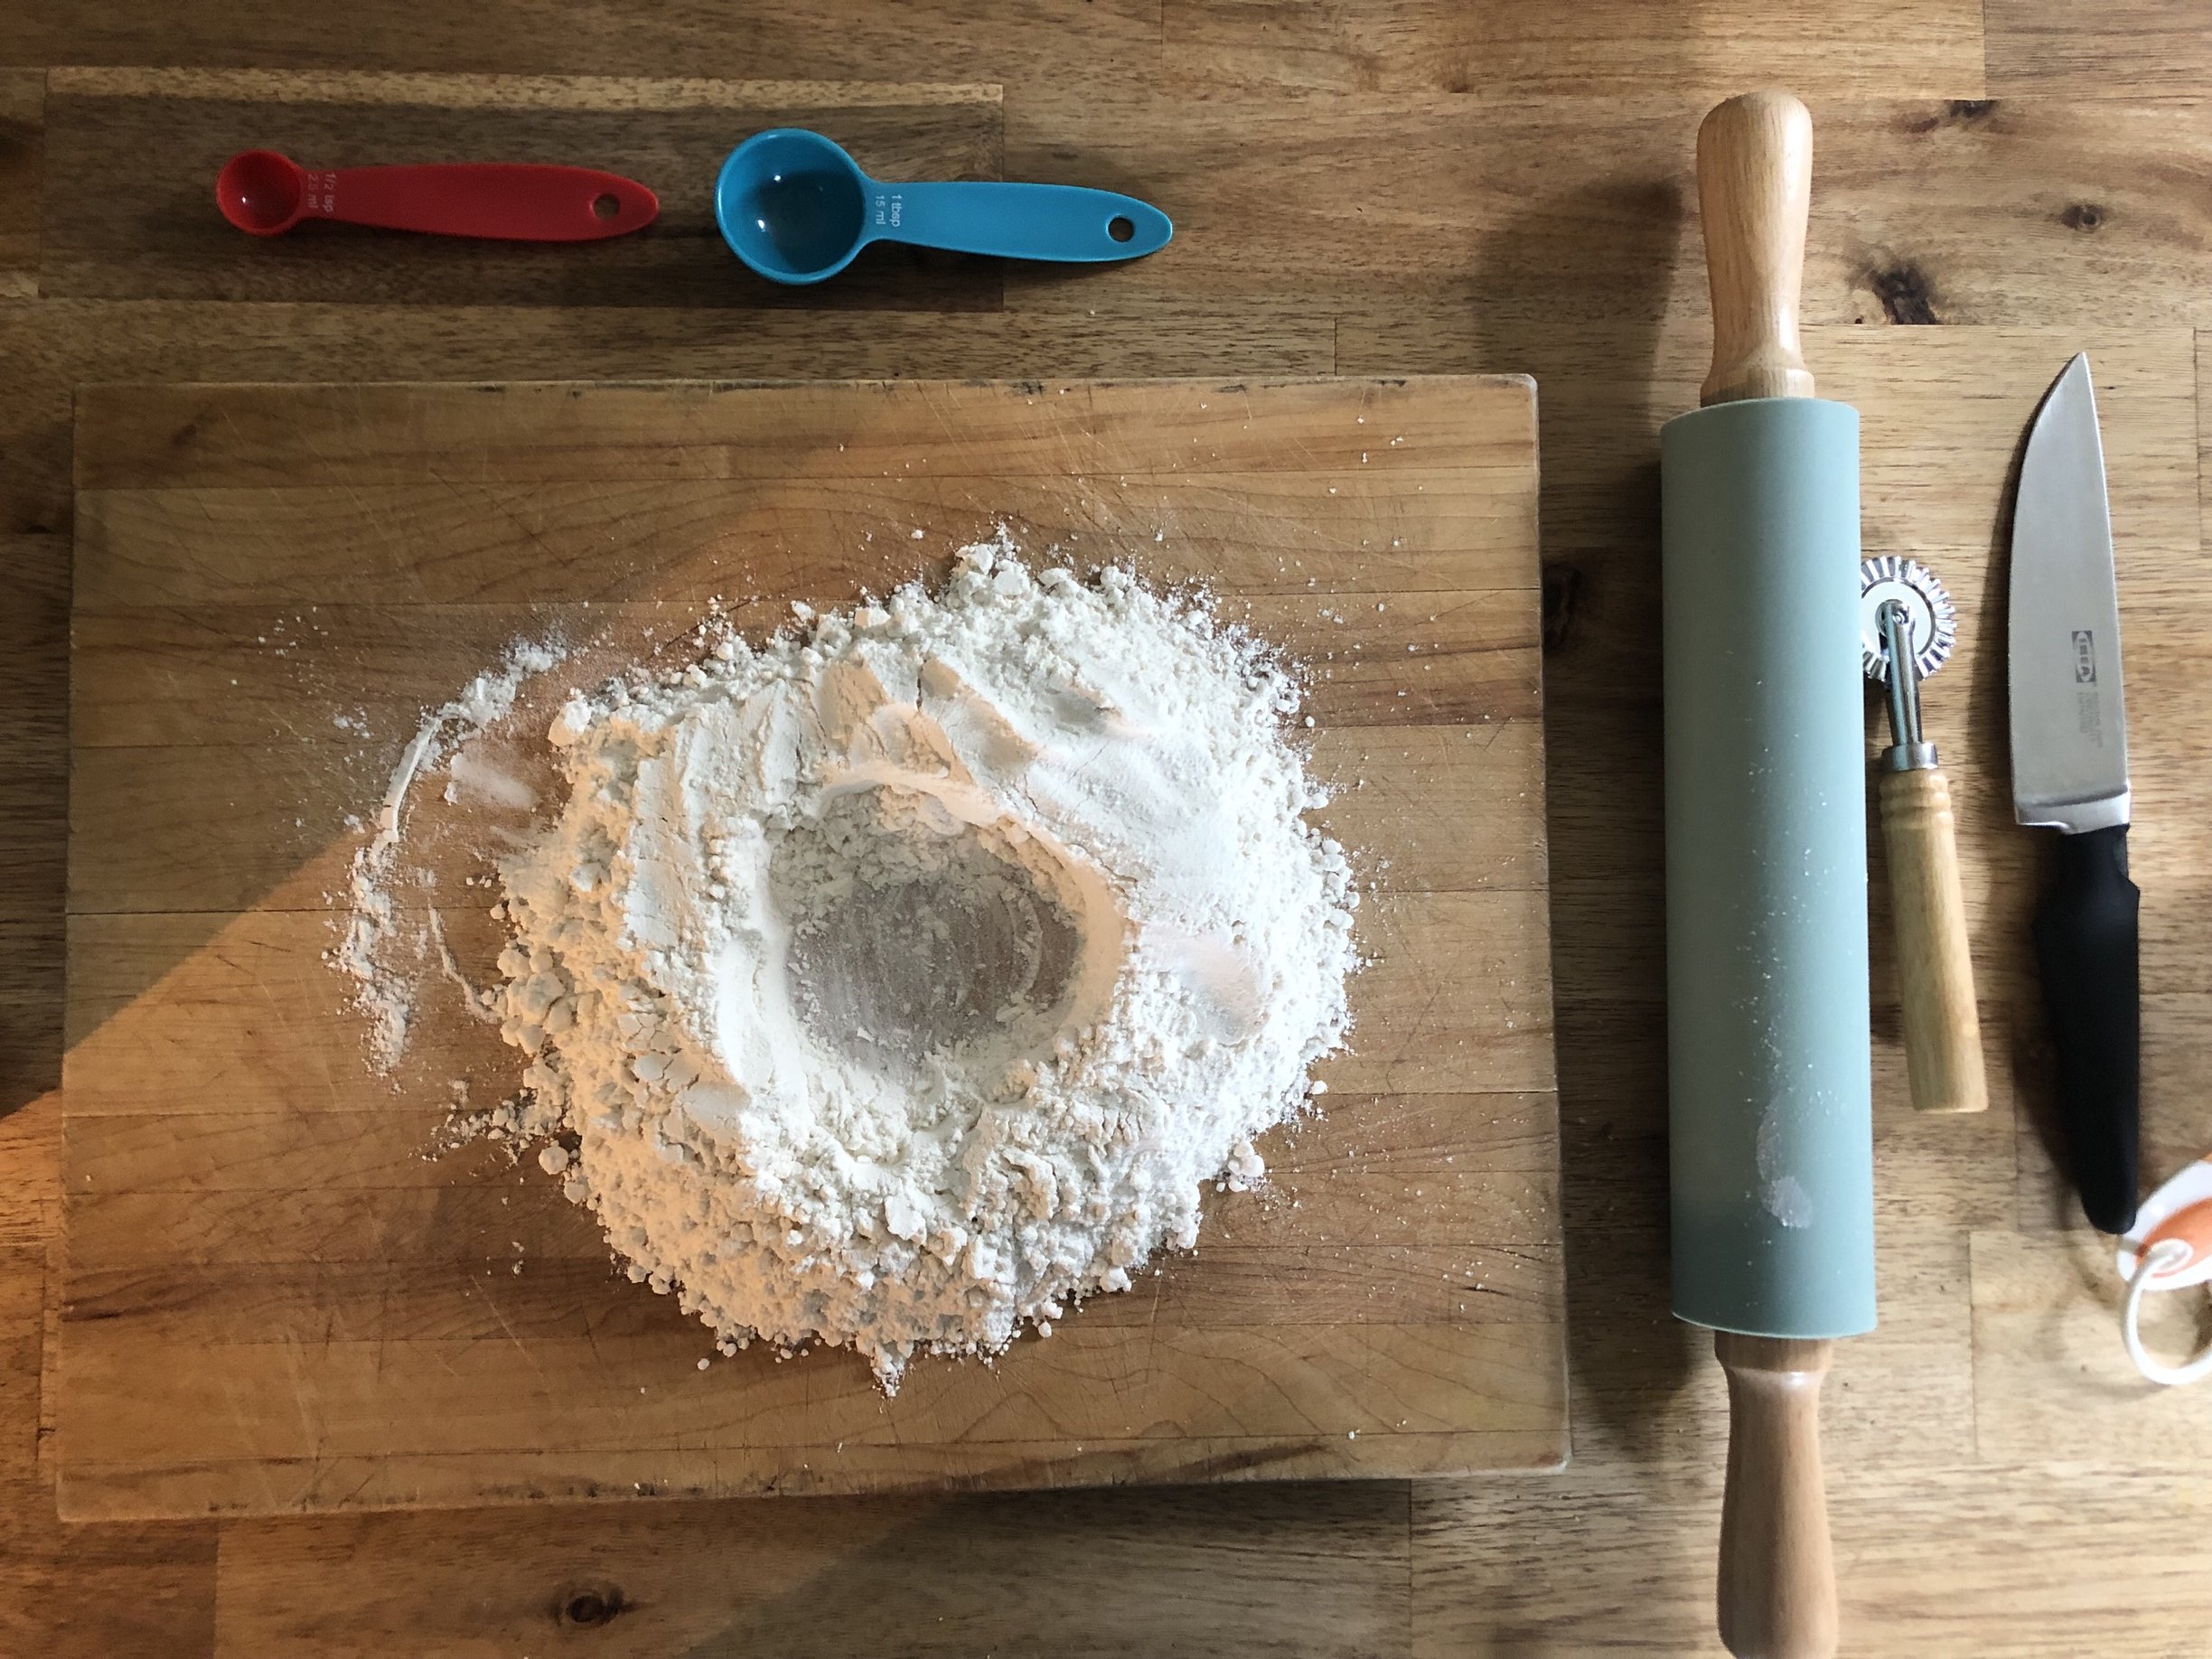
Step 2: Make a well with your flour.
Place your flour in the middle of your work surface and make a well with you fingers. Using your hands, make the hole in the middle deep and wide, while keeping the outer walls as high as you can. This will keep your egg, oil and salt mixture contained.
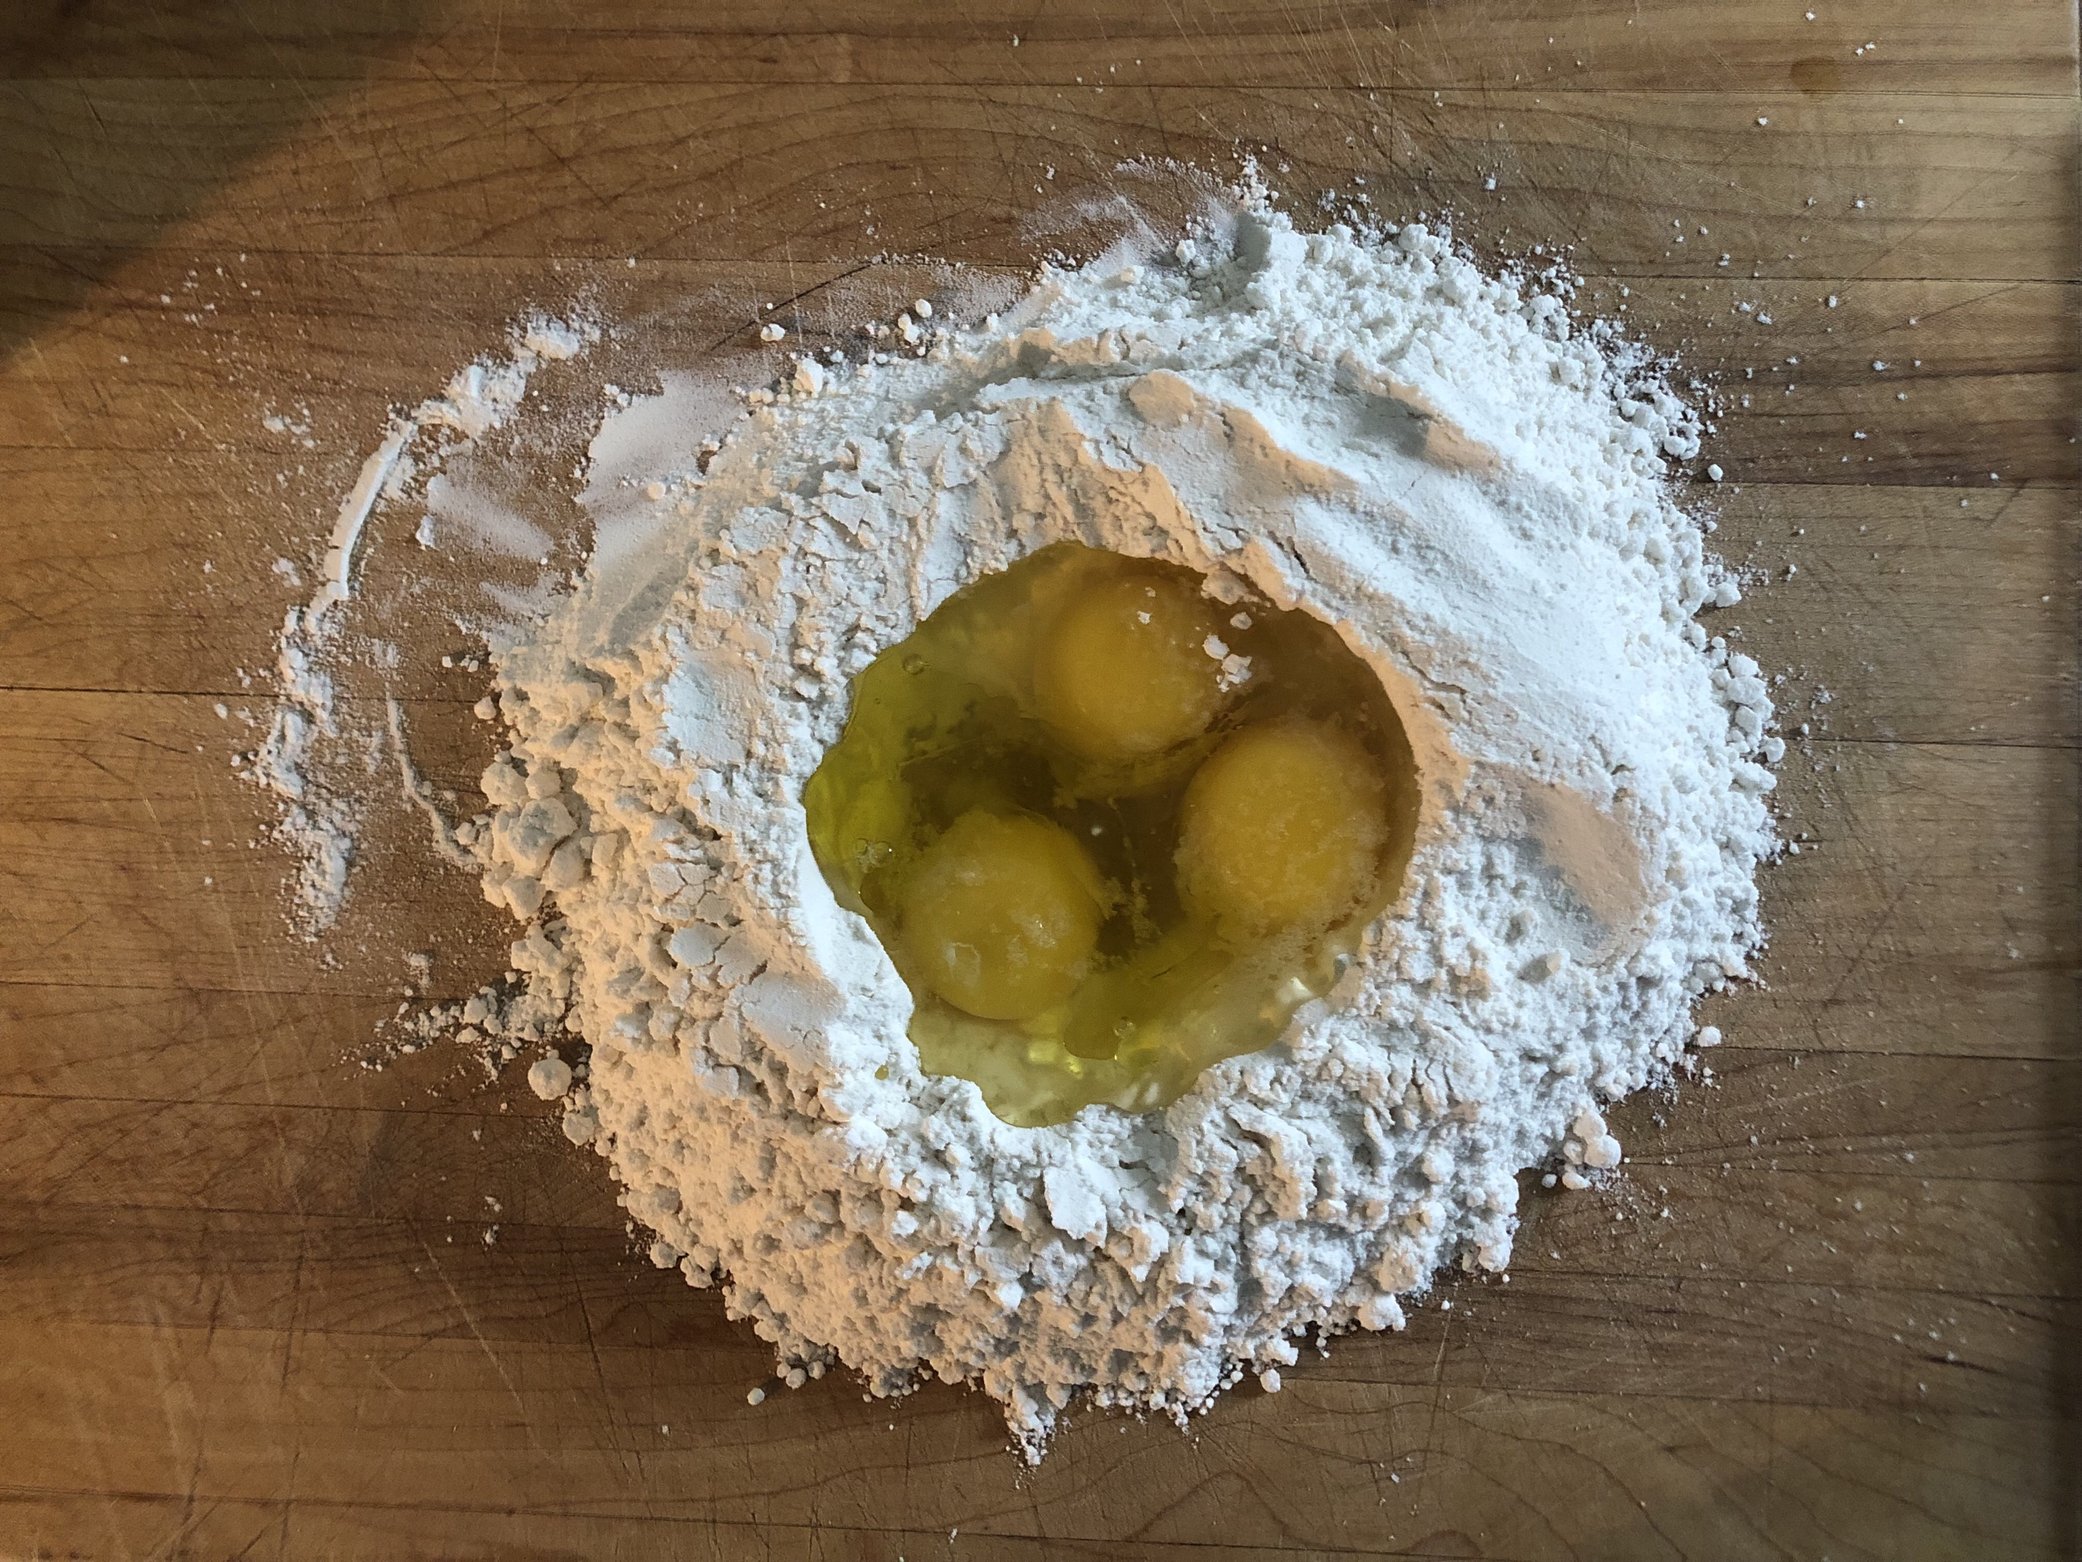
Step 3: Place your eggs, olive oil and salt in the well.
Add the eggs, olive oil, and salt to the center of the well and use a fork to gently break up the eggs, keeping the outer flour walls intact as best you can.
Tip for success: This part can be a little messy. It’s okay! Just use your hands or a fork to incorporate ingredients. Food coloring can also be added here for a fun twist! Natural dyes include beet powder (pink), spirulina (green), turmeric (yellow), and charcoal (black).
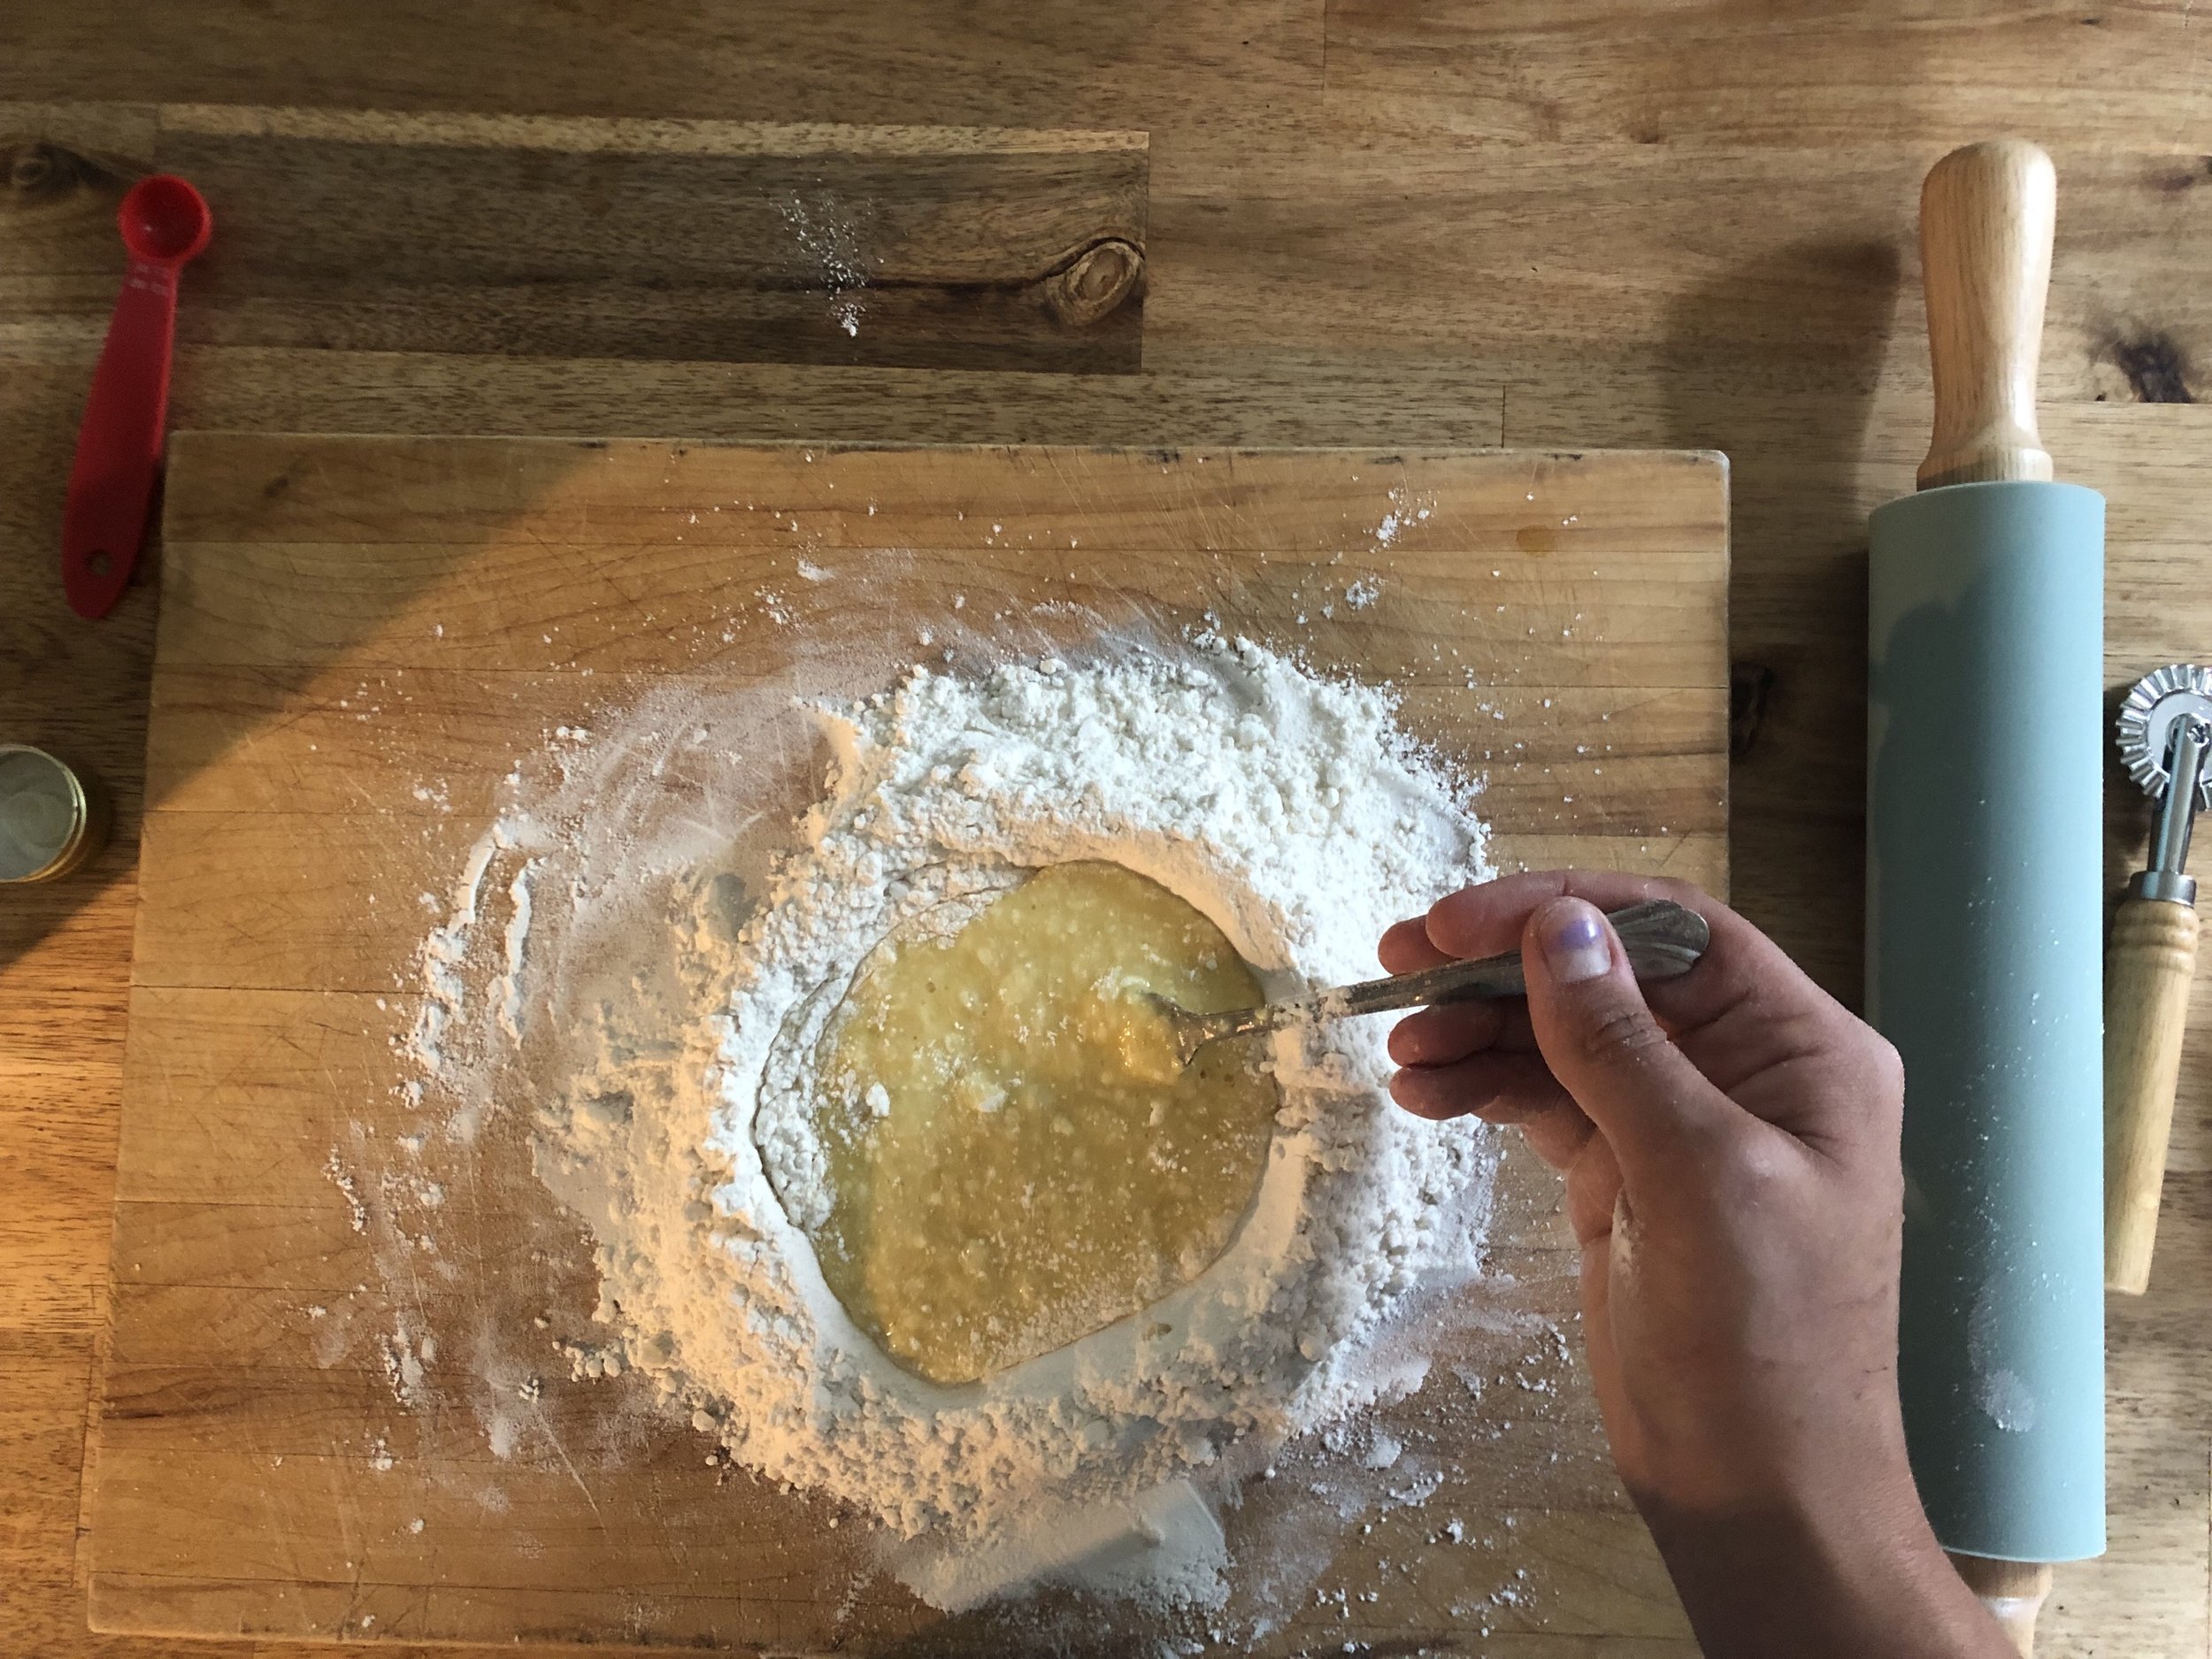
Step 4: Keep mixing until a loose dough starts to form.
Working from the inside out, progressively add the flour from the outer walls of the well. Once a homogenous mixture starts to form, use your hands to help form a thick dough-like consistency. Mold it into a ball with your hands. It may feel a little dry and crumbly at first, but not to worry!

Step 5: Knead the dough.
Using the palm of your hand, knead the dough for 8 to 10 min. The dough should progressively become smooth and elastic. If it is too sticky, dust a little more flour onto your work surface. If too dry, sprinkle a bit of water onto your fingers and knead the dough until it comes together.
Knead: to work into a uniform mixture by pressing, folding, and stretching with the palm of your hand.
Tip for success: You’ll know your dough is properly kneaded if you poke your finger in the dough, and it immediately bounces back. That means the gluten is developed enough and your dough is springy and elastic. If the dough doesn’t bounce back, knead for a few more minues and test again.

Step 6: Let your dough rest and cut into equal portions.
Place your dough in a clean bowl, covered and at room temperature, for a minimum of 15 min or up to 1 hour if time allows. While the dough rests, clean your workspace. Once the dough has rested, cut the dough into 5 or 6 equal sections. As you work with one section, keep the others covered and in the bowl so they do not dry out.
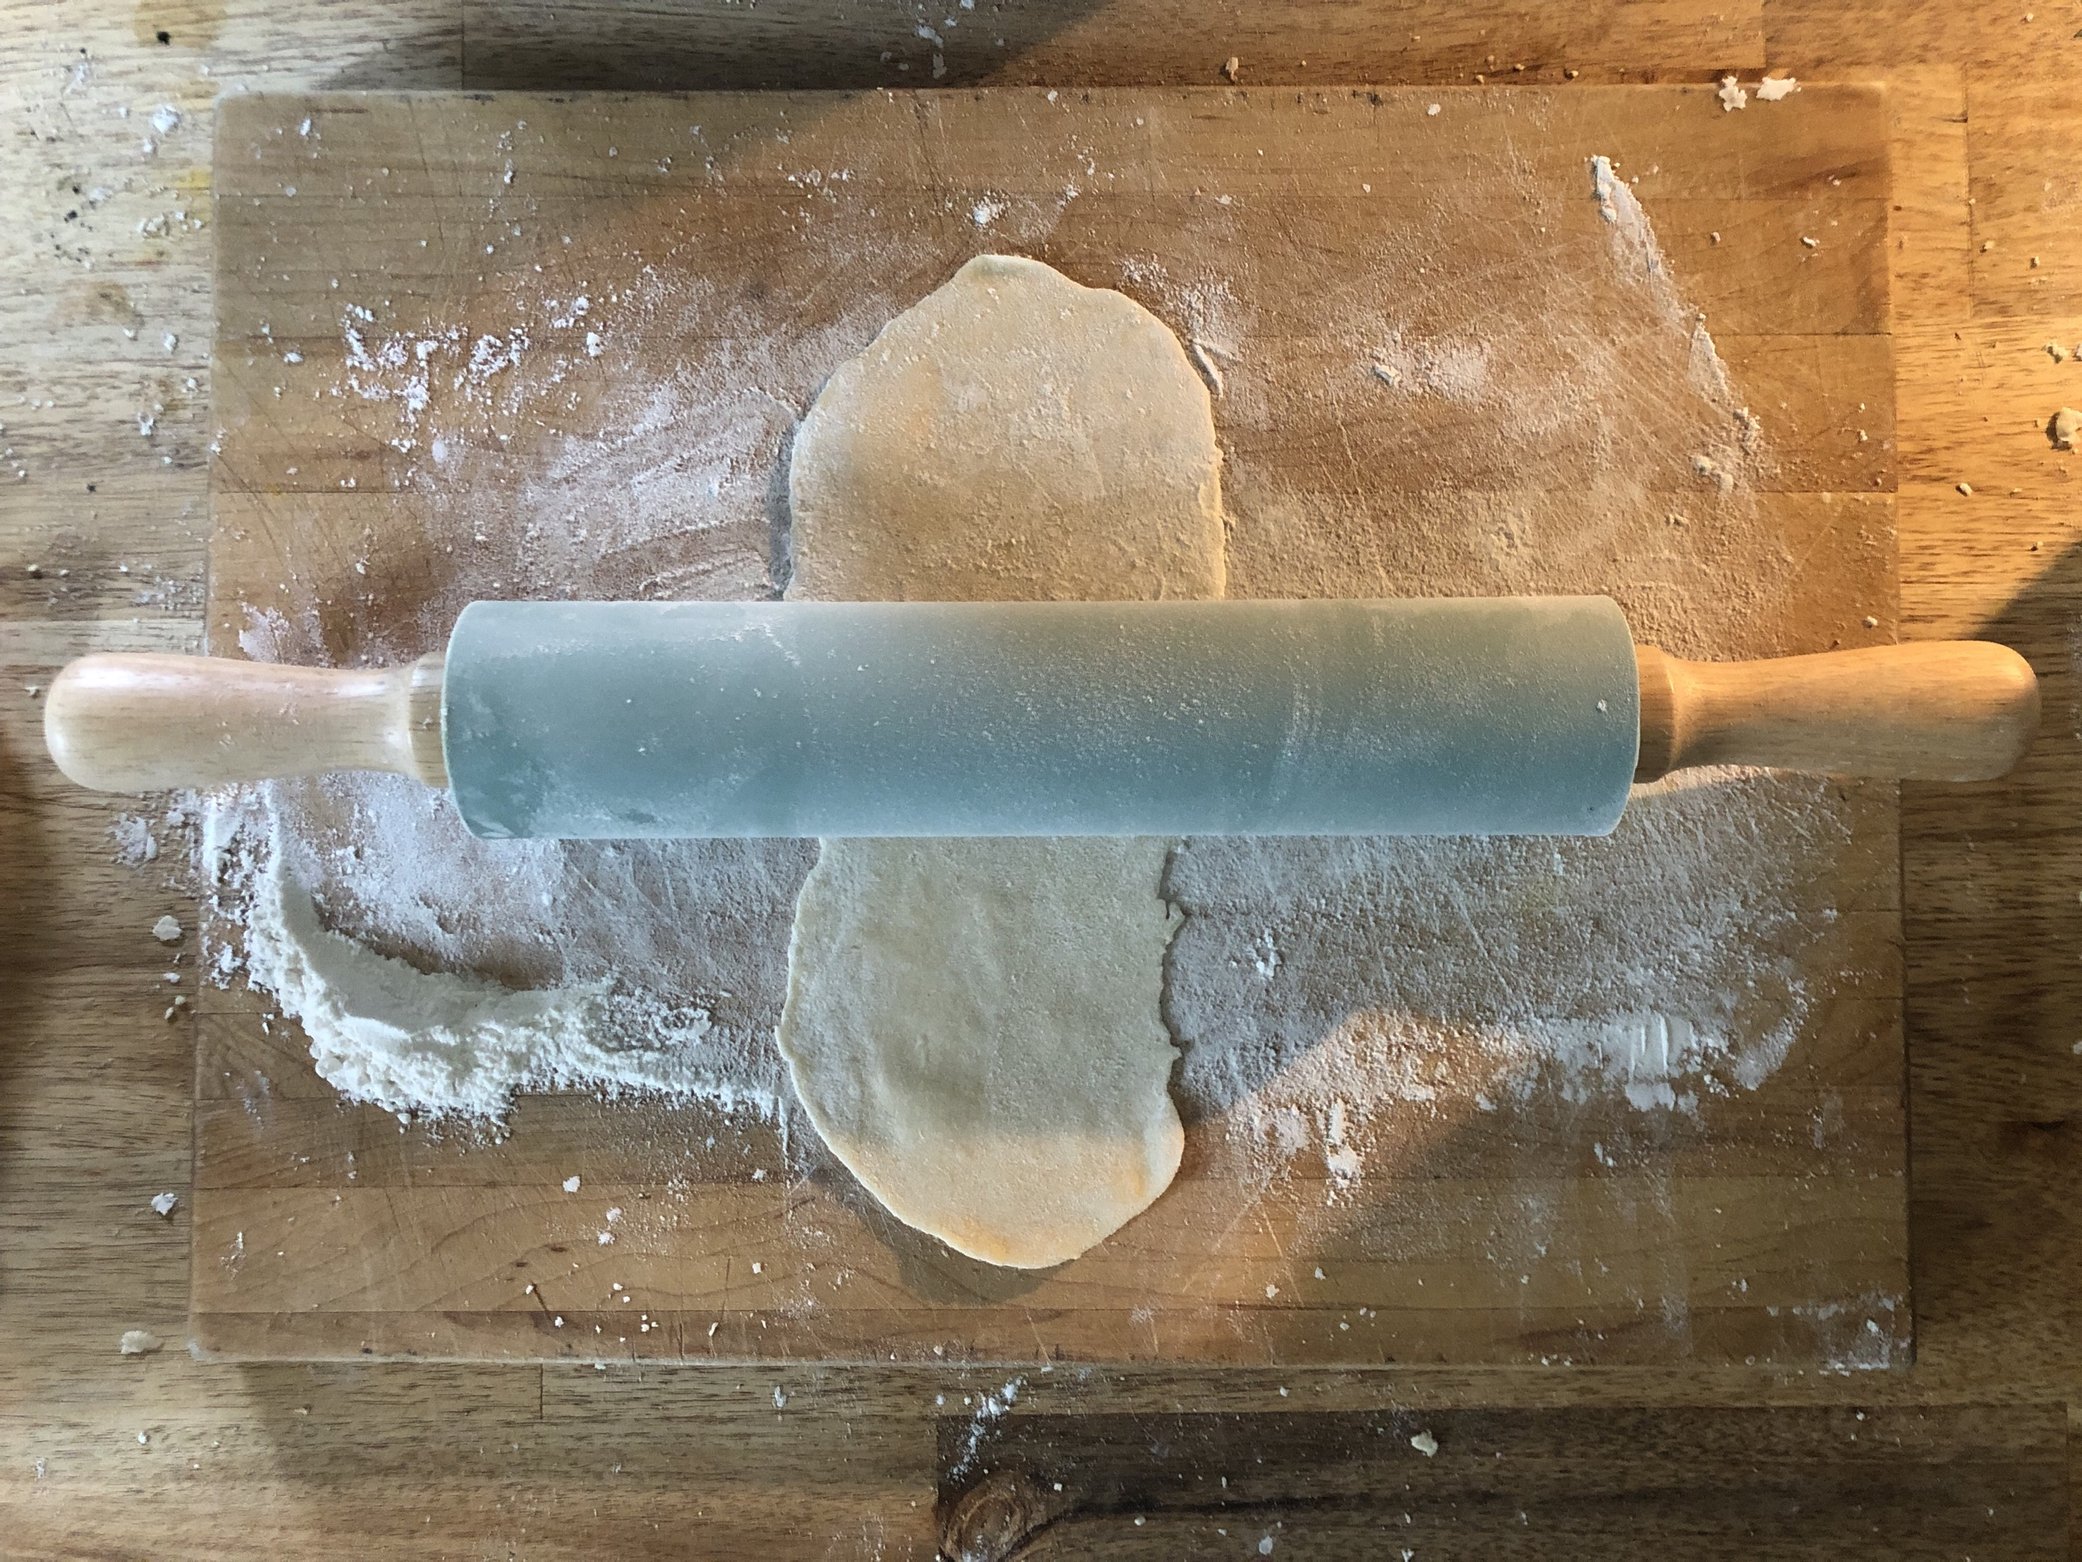
Step 7: Roll out your section of dough.
Flour your workspace well, and using a rolling pin, roll one section of the dough into a long strip. After each pass of your rolling pin, lift your dough, add a dusting of flour to your workspace and flip your dough over. This will keep your dough from sticking.

Step 8: See-through test.
Keep up this rolling out process until your dough is paper thin, but strong enough to be lifted. You’ll end up with a long thin strip of pasta dough.
Tip for success: pick your dough up and test whether you can see your fingers through it. If you can, your dough is thin enough.
Step 9: Fold your pasta into an accordion and cut.
Dust your long strip with flour on both sides, then loosely fold the pasta like an accordion. Using a sharp knife or pasta cutter, cut across the folds to obtain individual pasta strands.
Tip for Success: With this basic strip, the “pastabilities” are endless! For linguini, cut your accordion into thin strips; for fettucine, cut into thick strips. For lasagna noodles, omit this step and simply cut strip to desired length.


Step 10: Unroll your strands
Unroll each strand and lay them across your floured work station, drying rack, or kitchen table for roughly 15 minutes. This process will allow your pasta to stay fresh longer. Repeat steps 7 through 10 for all remaining portions of dough.
Step 11: Storing your pasta.
Once your pasta is dry, it can be used immediately, or frozen for later. If freezing your pasta, gather them in small, loose bundles, place on a floured baking sheet, and freeze. Once frozen, transfer bundles to sealed container or bag and use as needed. Frozen pasta can be kept for up to 9 months.
Pictured here is this basic pasta recipe but colored with add-ins like beet powder for a pink coloring and spirulina for a green coloring. Coloring your dough should happen at Step 3. These bundles were frozen on the tray and once frozen, stored in resealable bags.

Step 12: Cooking your pasta.
Bring a pot of salted water to a boil. Add the fresh or frozen pasta and cook for 4-5 minutes, until al-dente. Serve with chosen sauce and sides.


